

How to Tie Bow Ties for a Clean, Classic Look
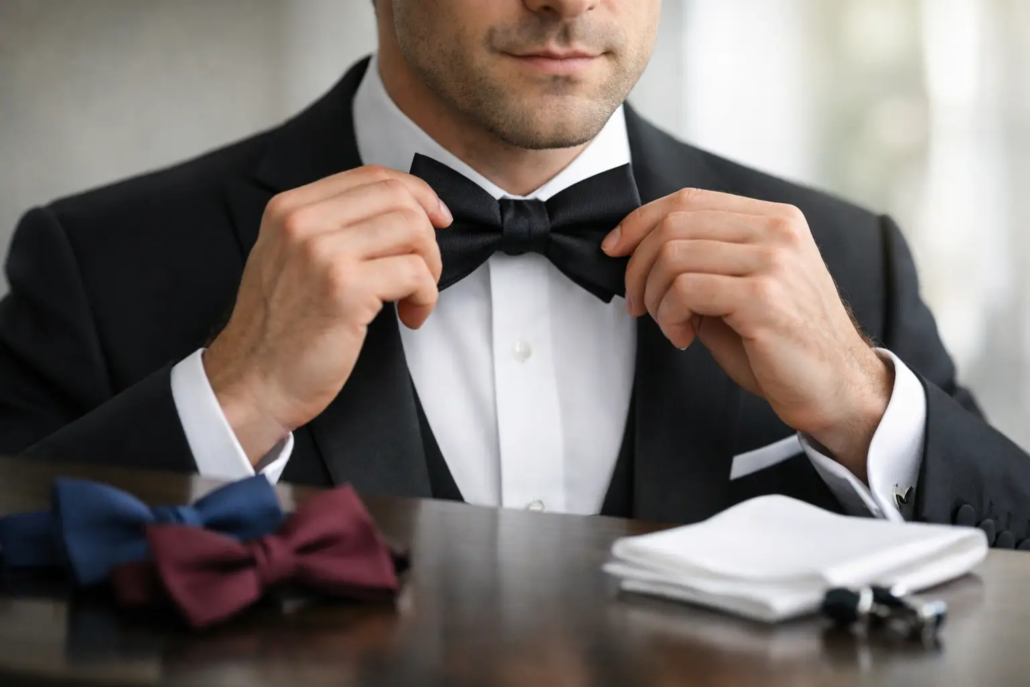
A self-tie bow tie changes the feel of a dress shirt immediately. It looks intentional, personal, and polished in a way a pre-tied style cannot quite duplicate. Learning how to tie bow ties takes a few minutes of practice, not a special talent. Once your hands understand the sequence, you can get ready for a wedding, formal dinner, church service, or black-tie event without asking for help.
The key is to expect the first few attempts to look imperfect. A good bow tie should have a little character, especially in silk. Focus first on a secure knot and balanced wings. You can refine the shape after that.
Before You Tie Your Bow Tie
Start with a self-tie bow tie that fits your neck. Most adjustable bow ties have size markings along the strap and a hook-and-eye closure. Set it to match your shirt collar size, then fasten it around your neck with the finished side facing out. The bow tie should sit comfortably under a buttoned collar, snug enough to stay in place but never tight enough to pinch.
Stand in front of a mirror for your first several tries. Button the top button of your dress shirt and raise the collar while you work. A crisp collar gives the finished bow a cleaner frame and keeps the strap hidden when you fold the collar back down.
A traditional bow tie has shaped sections at both ends. One end needs to hang slightly lower than the other before you begin – usually about an inch and a half. The exact difference depends on the tie’s length and your neck size, so do not worry if it takes a small adjustment. In these instructions, call the longer hanging end Side A and the shorter end Side B.
How to Tie Bow Ties in Seven Steps
The motion is similar to beginning a shoelace knot, then building two folded wings. Work steadily rather than pulling hard. Silk responds best to controlled, gentle tension.
- Cross Side A over Side B. Let Side A, the longer end, cross over the shorter end near the base of your neck. Hold the crossing point firmly between your thumb and forefinger.
- Bring Side A up through the neck loop. Pass Side A underneath Side B, then pull it upward through the loop around your neck. Draw it down in front so it hangs vertically. You now have the foundation knot.
- Fold Side B into the first wing. Take the shorter hanging end and fold its widest section horizontally across the front of the knot. The folded shape should resemble one side of a finished bow. Hold it in place with your fingers.
- Drape Side A over the center. Bring the longer vertical end straight down over the middle of the folded wing. This creates the band that will define the center of your bow.
- Fold Side A back on itself. Lift the lower part of Side A upward behind the bow, folding its broad section into a second wing. You should feel a small opening behind the first folded wing and the center band.
- Push the folded end through the opening. Feed the folded portion of Side A through that opening from behind. Do not push the entire end through. You are creating the second wing, not pulling the knot apart.
- Tighten and shape the bow. Hold a loop on each side and gently pull them outward. Alternate small pulls on the wings and the loose flat ends until the knot is secure. Adjust the folds so both sides are similar in width and sit level at your collar.
When you are done, lower your shirt collar and check the bow from straight on. The center knot should cover the strap, the wings should sit horizontally, and the bow should not extend much beyond the outside edges of your face.
The Adjustment That Makes It Look Right
The difference between a bow tie that looks hurried and one that looks sharp usually comes down to small adjustments. Pinch each wing near the center to create a clean crease, then tug lightly on the flat ends behind or beside the bow to remove slack. If one wing is noticeably larger, loosen the knot just enough to redistribute the fabric rather than starting over.
Do not aim for perfect symmetry at the expense of the tie’s texture. A hand-tied bow naturally has slight variation, particularly with silk. That subtle irregularity is part of its appeal. What matters is that the bow is centered, secure, and proportional to your face and collar.
Common Bow Tie Problems and Quick Fixes
If your bow tie keeps coming loose, the issue is usually that the center knot was not tightened evenly. Pull each loop and each flat end in small increments. A single hard tug can distort one side, while alternating tension creates a firm knot.
If the wings seem too short or too long, check the neck-size adjustment before blaming the knot. A bow tie set too large can leave excess fabric and produce oversized loops. One set too small may not provide enough material for a full-looking bow. Set the adjustment to your actual collar size, then try again.
A twisted bow tie strap is another common problem. Before making the first cross, run your fingers around the strap behind your neck and make sure the fabric lies flat. Starting with a twist makes every later step more difficult.
If you cannot find the opening for the second folded wing, relax the center band slightly with your free hand. The opening sits behind the first wing, directly under the section that drapes over the middle. Keep the second end folded as you guide it through. Trying to feed a flat, unfolded end through is where most first attempts go sideways.
Choosing the Right Bow Tie for the Occasion
A black silk or satin self-tie bow tie is the standard choice for black-tie weddings, galas, and formal evening events. Pair it with a tuxedo shirt and a properly fitted tuxedo for a traditional finish. For a wedding where you are a groom, groomsman, or guest, consider the event’s dress code before reaching for novelty patterns or brighter colors.
For daytime celebrations, church, professional events, or a dressed-up date night, patterned bow ties give you more room to show personality. Small florals, classic stripes, textured solids, and seasonal colors can all work well. Let one piece lead the outfit. If the bow tie has a bold print, keep the shirt solid and the pocket square simple.
Fabric also changes the final look. Silk has a refined drape and is ideal for formalwear. Cotton and linen feel more relaxed, making them strong choices for warm-weather weddings and casual dress shirts. Velvet has a rich, evening-ready texture, but it can feel too heavy for a daytime event or a lightweight suit.
For boys and anyone who needs to get dressed quickly, a pre-tied or clip-on bow tie can be the practical choice. There is no rule that says every bow tie must be self-tied. Still, for occasions when you want the classic look and the satisfaction of a traditional knot, a self-tie style is worth keeping in your formalwear rotation.
Practice Once, Then Wear It With Confidence
Practice with the same bow tie you plan to wear, preferably before the day of the event. Different fabrics and shapes behave differently, and a few repetitions will show you how much tension your particular tie needs. Tie One On carries options for formal events, everyday polish, and standout celebrations, so you can choose a style that fits the moment as well as your wardrobe.
The best time to learn is not five minutes before photos begin. Give yourself a quiet ten minutes, leave the bow slightly imperfect on the first try, and keep adjusting. Soon, the knot will become familiar enough that putting on a bow tie feels less like a formalwear challenge and more like the final detail that makes the outfit yours.



Leave a Reply
Want to join the discussion?Feel free to contribute!